SSH into DOS: I wrote an x86 emulator
November 17, 2026
I was curious what it would take to write an x86 emulator, so I wrote Farcall, currently an emulator for the original IBM PC and its 8088 CPU. You can SSH into it and land in DOS, where you can experience fun programs including Zork, NetHack, GW-BASIC, Sopwith, and Digger Remastered.
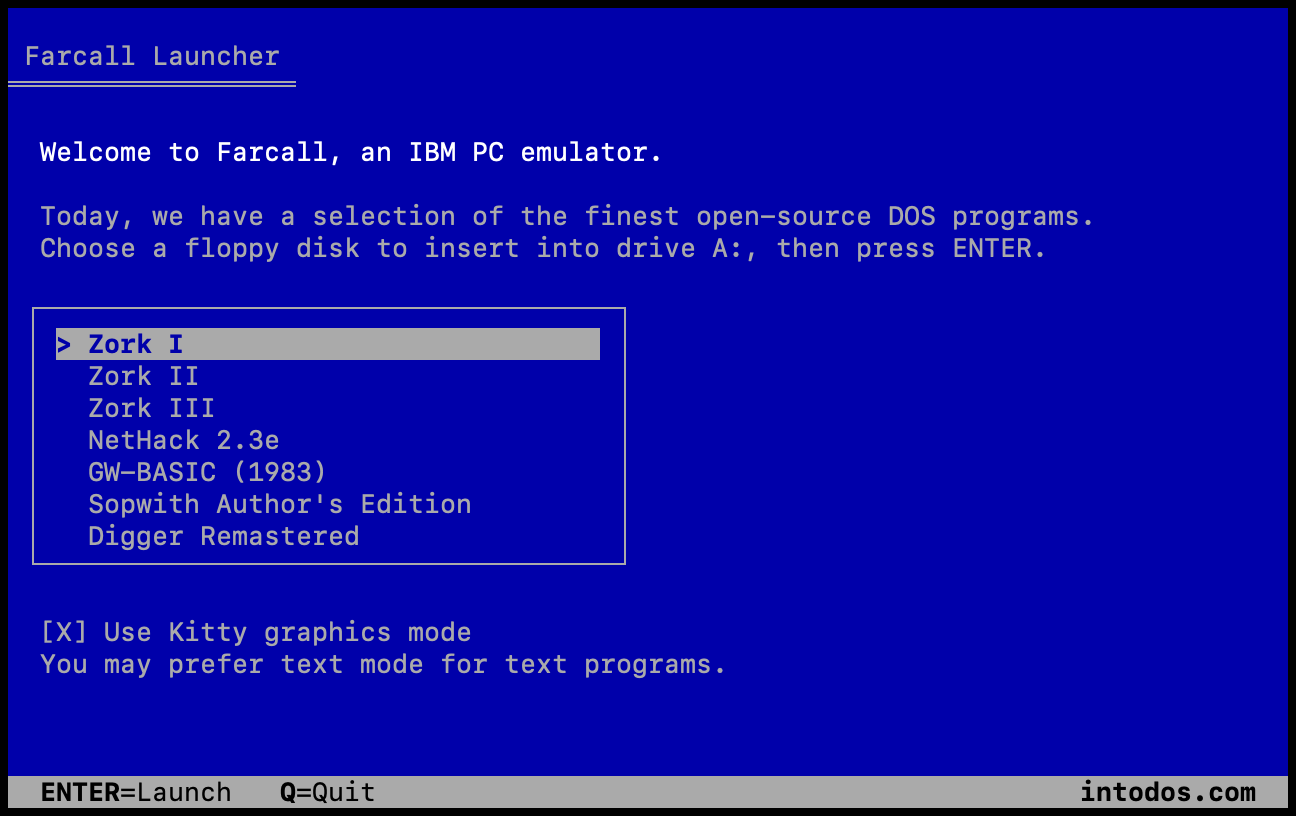
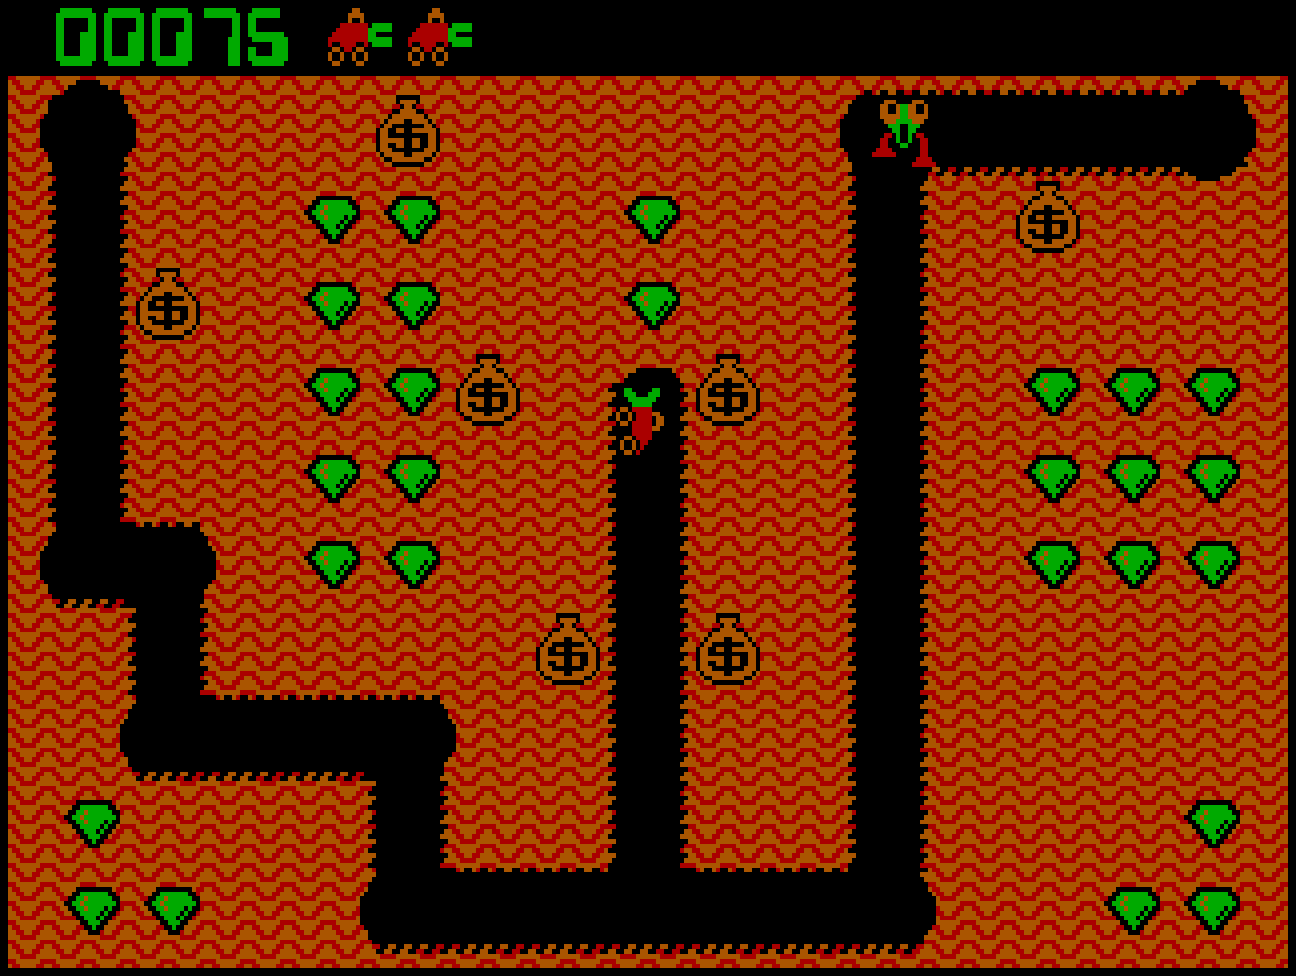
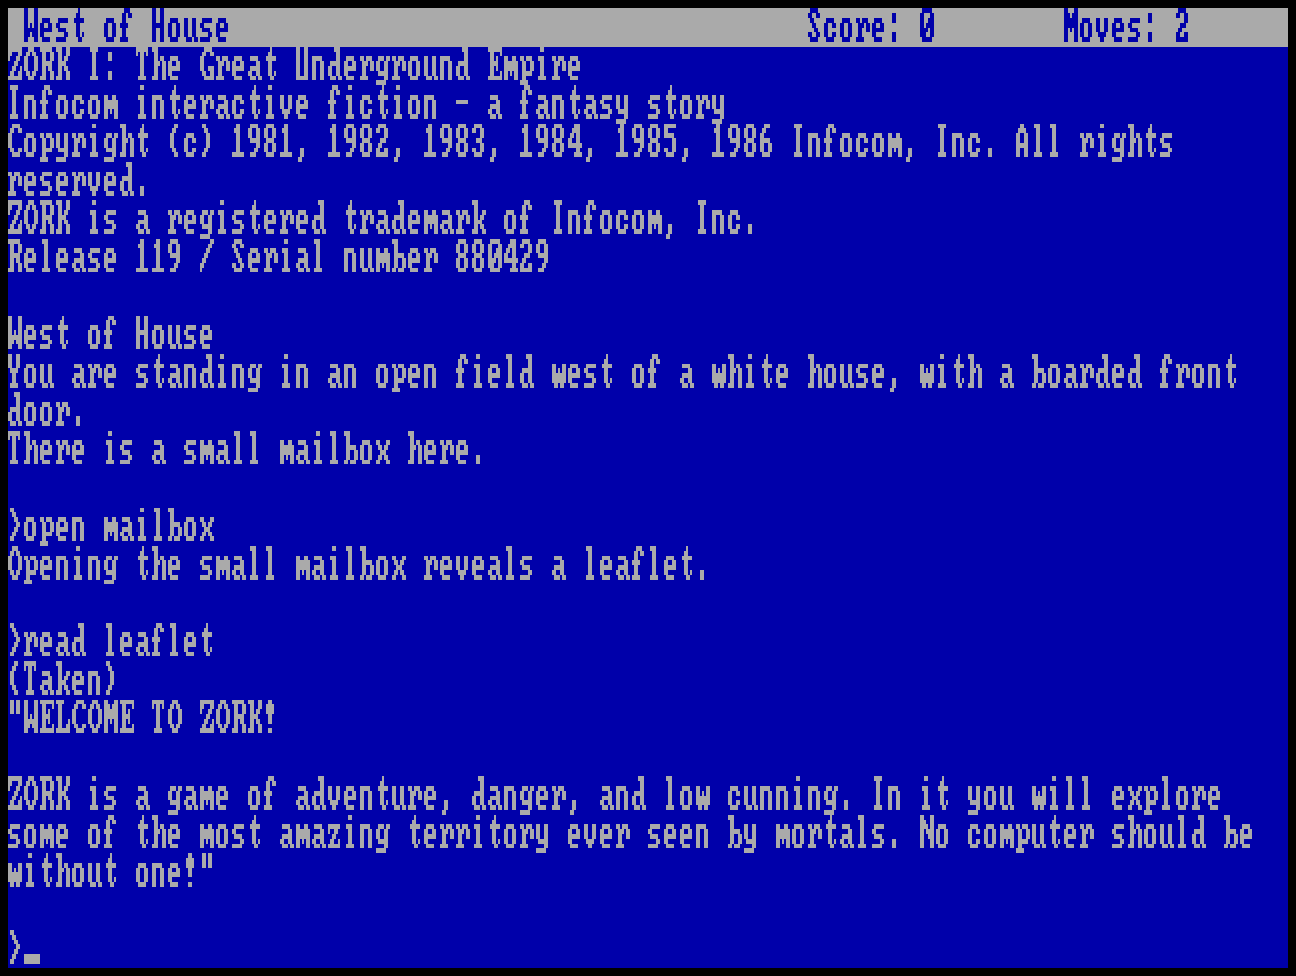
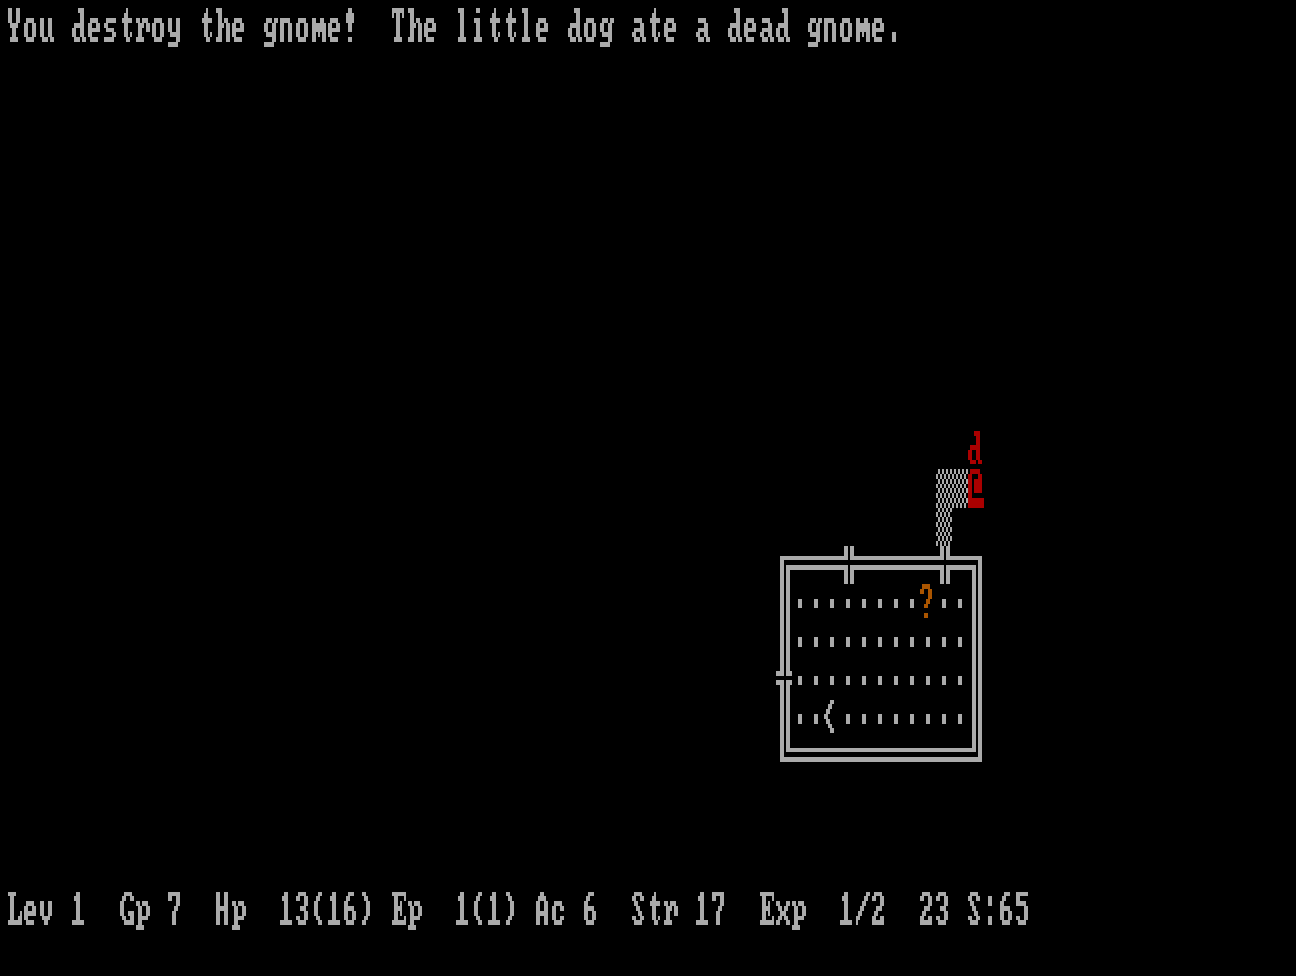
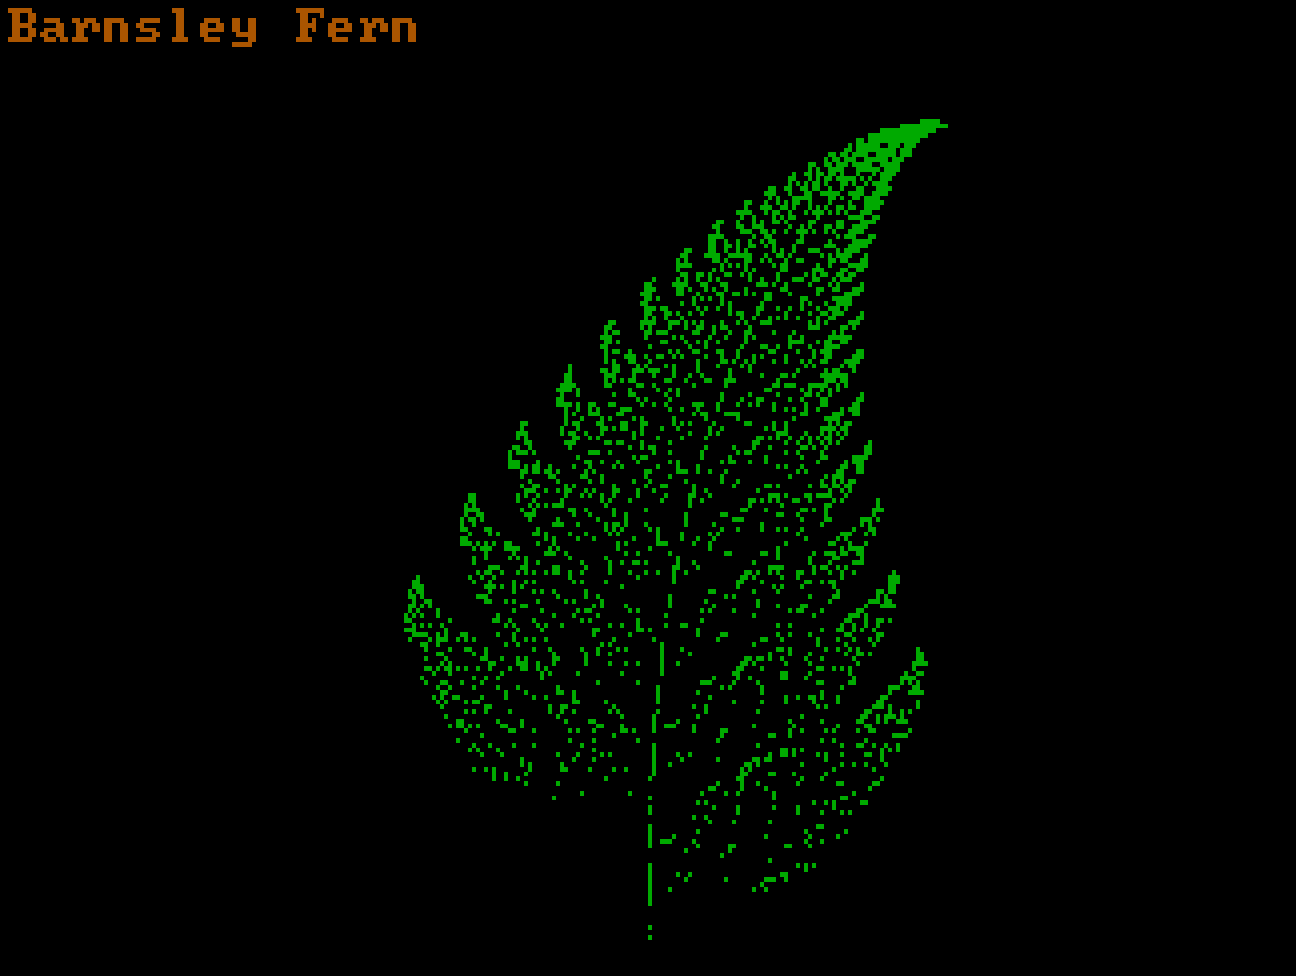
Try it for yourself in your terminal:
ssh me@intodos.com
At the launcher, choose a disk to insert, press Enter, and type PLAY at the DOS prompt. Press Ctrl-] to return to the launcher.
How it all started
Coming back from the Vintage Computer Festival Midwest in September, I had a random thought—why not try writing my own x86 emulator? How hard could it be? I’d always assumed that writing an entire x86 emulator was a lot of work, but attending VCF gave me a hankering to learn more deeply how things work under the hood on computers in my vintage computing niche, but also the computers I use every day.
Intel released the 8086 chip and introduced the x86 architecture in 1978. The 1981 IBM Personal Computer used a variant, the 8088, and is the ancestor of PCs as we know them today. I picked up my very own early-model IBM PC a few years ago. It’s an iconic, yet industrial-feeling machine—it boots into PC-DOS, and runs programs off 5¼ inch floppy disks (mine doesn’t have a hard drive). It has the Monochrome Display Adapter and the IBM 5151 display, with its beautiful green-on-black text. The only input device is the famously clicky Model F keyboard.
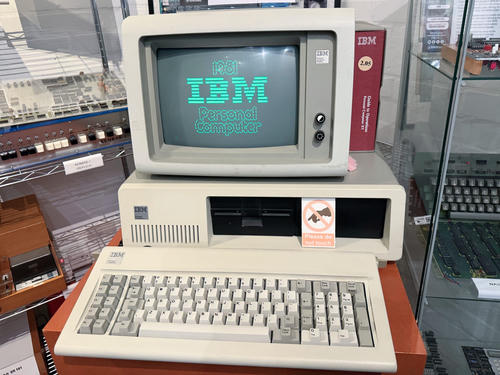
An IBM PC, just like my own, that I saw recently at The National Museum of Computing in Bletchley Park, England
Hello, world
As a concrete target, I decided to emulate the 8088, as that’s the chip in my IBM PC. I am by far not the first person to do this—in fact, there are many, far more capable emulators for the IBM PC, including MartyPC, DOSBox, and 86Box. This was very much meant as a personal education mission for me.[1]
My first naive thought was that I needed to implement each of the instructions of the 8088 itself. I knew I wanted it to boot DOS, run programs on it, and eventually boot Windows 3.1 (one of my favorite operating systems of the era). But I didn’t realize quite how much there would be to get to that point.
I set out by trying to run COM files. COM is DOS’s simple executable format (you may recognize it from hits like COMMAND.COM, FORMAT.COM and indeed, WIN.COM if you ever typed “win” at the command line to start Windows). I started with a simple COM program that prints “Hello World” to the console as my first target.

My emulator, which I’m calling Farcall, started off very simply: a Rust command-line program running on my Mac, that reads in the bytes of a COM file from disk, and decodes and executes each instruction in a loop. Each instruction in the 8088 has an opcode byte (a number from 0x00 to 0xFF), optionally followed by more bytes.[2] (This is different from many RISC architectures like Arm64 where every instruction is the same width). For example:
50        PUSH AX       ; 1 byte instruction
B0 2A     MOV AL, 0x2A  ; 2 byte instruction
83 C0 01  ADD AX, 1     ; 3 byte instruction
Farcall reads in the opcode (50, B0, or 83 above), and then however many additional bytes are necessary to interpret that type of instruction.
If there were any opcodes that my emulator didn’t recognize, it would panic, and print out the unsupported opcode. I soon got into a rhythm: I would implement one instruction, run the program, and see where it next stopped. I just needed to do this ~300 more times, for each of the instruction forms.
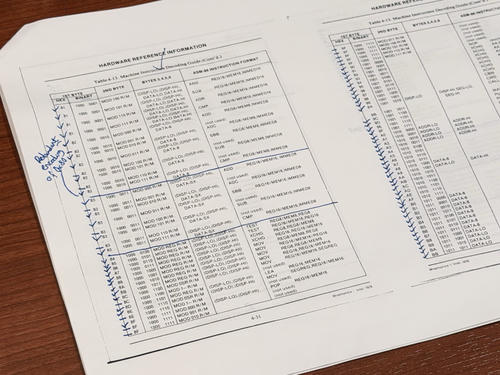
To keep track of my todo list, I printed out the full list of instructions from Intel’s 8086 Family Users Manual, and put a blue check mark next to each instruction as I implemented it.
Even from my very first “Hello World”, I realized that it’s not enough to implement the CPU’s instructions. The x86 has an INT (interrupt) instruction that looks up an address in the interrupt vector table and calls the handler there. On the IBM PC, these handlers are typically set up by the BIOS or DOS. My “Hello World” used INT 21h to ask DOS to write a string to the screen, so in addition to implementing the CPU’s INT instruction, I had to also emulate the DOS service to write the string.
Once my Hello World COM program worked, I repeated this process a few more times with some other simple programs. And then I found out that Microsoft open-sourced MS-DOS 1.25, 2.0, and 4.0 a few years ago, so I set my sights on running MS-DOS 2.0’s MORE.COM (the pager), as my first “real” program. While it seemed like a slog with all the instructions I had to implement, it was still an incredibly rewarding cycle–with each new instruction, the program would run just a bit more, and hundreds of instructions would fly across my screen as they were executed.
I also implemented part of INT 10h—the BIOS’s Video service, which MORE.COM uses to learn about the current screen dimensions, etc. So now I was emulating a small subset of yet another layer, the BIOS. With that, though, MORE.COM ran properly—a DOS program seemingly running in the macOS terminal.

Booting DOS itself
My eventual goal is to run Windows 3.1 on Farcall. However, one of the many steps before that is to get DOS to boot, since Windows 3.1 runs on top of it.
In order to do that, I knew that I needed to deal with boot sectors—some code at the beginning of a disk that typically loads an operating system. I own a bunch of 5¼ inch floppy disks that came with my IBM PC with software for it. I took an image of my PC-DOS 2.0 floppy, and added a “boot” mode to the emulator that would take an image and execute its boot sector, instead of a COM file.
When a PC boots from a floppy, the BIOS reads the first sector (512 bytes) into memory and executes the instructions in it. On my PC-DOS diskette, those instructions start loading DOS. Methodically, I implemented even more of the 8088’s instructions (about 200 more), and several interrupts that a BIOS would normally listen for, including keyboard support, video handling (the simplest 80x25 text mode), and reading from a floppy disk. With some persistence, I got to the point where the boot sector transferred control to the system files (IBMBIO.COM and IBMDOS.COM), and eventually to COMMAND.COM.
Getting DOS to boot was a bit of a relief—before this point my emulator was performing the work of the CPU, the BIOS, and DOS; getting DOS working meant I could stop handling INT 21h myself and let the emulation run DOS’s real handler.
It also opened up the kinds of programs I could run. Multiplan, a spreadsheet program from 1982 (Microsoft’s answer to VisiCalc, the world’s first “killer app”) was the first one I got running, by implementing a bunch more instructions, and supporting 16-color text mode to let Multiplan's beautiful magenta-on-blue palette shine through.

Emulating hardware peripherals
So far I had been emulating a BIOS by intercepting interrupts to services like Video, Keyboard, and Disk. This was easier for me to get started, because in the emulator code I have free rein over memory and the CPU’s registers and I could talk directly to the frontend, and I only needed to implement missing functionality until things worked.
However, it was also limiting—the subset I had built was just enough to boot DOS 2.0 and 3.3, but there's a lot more BIOS services, each with its own quirks and features, and the ones I had weren’t enough to boot FreeDOS, for instance. And around the same time, I discovered GLaBIOS, a modern and open-source BIOS implementation that runs on real IBM PCs.
While using someone else’s BIOS sounds easier than emulating one, it actually increased the scope of the emulator quite a bit: to support an actual BIOS ROM, you now need to emulate all the hardware the BIOS expects to talk to! This was where my naivety became clearer—I didn’t realize just how much peripheral hardware is inside an IBM PC. I knew there was a floppy drive, video card, and keyboard, of course, but I didn’t realize there’s also a Programmable Peripheral Interface (PPI), Programmable Interval Timer (PIT), and a Direct Memory Access (DMA) controller.
| Level of Emulation | What Farcall emulates | What runs inside |
|---|---|---|
| Level 1 | CPU, BIOS, and DOS | Programs |
| Level 2 | CPU and BIOS | DOS and programs |
| Level 3 | CPU and hardware | BIOS, DOS, and programs |
There’s a lot I had to learn about how each of these peripherals work together. For instance, I didn’t know that the floppy disk controller works with the DMA controller to read data from a disk into memory. Thankfully, there are some great resources like the MartyPC PC Emulation Book, the datasheets for the Intel chips, as well as previous versions of MIT’s 6.828 course website.

GLaBIOS not yet quite booting
I eventually implemented enough of each of these devices that I got GLaBIOS to boot. Seeing the BIOS go through its POST sequence, and then deposit me at the DOS prompt, gave me a great sense of satisfaction. And now, because the devices were actually implemented, I could focus on improving the fidelity of the graphics.
CGA graphics
Until then, I’d only supported text output, which is all that my own IBM PC supports, since it has the Monochrome Display Adapter. But the video card can be upgraded, like to one that supports CGA, known for its iconic color palettes (including magenta-cyan-white). I decided I had to add CGA’s graphics mode so I could run programs with color graphics.
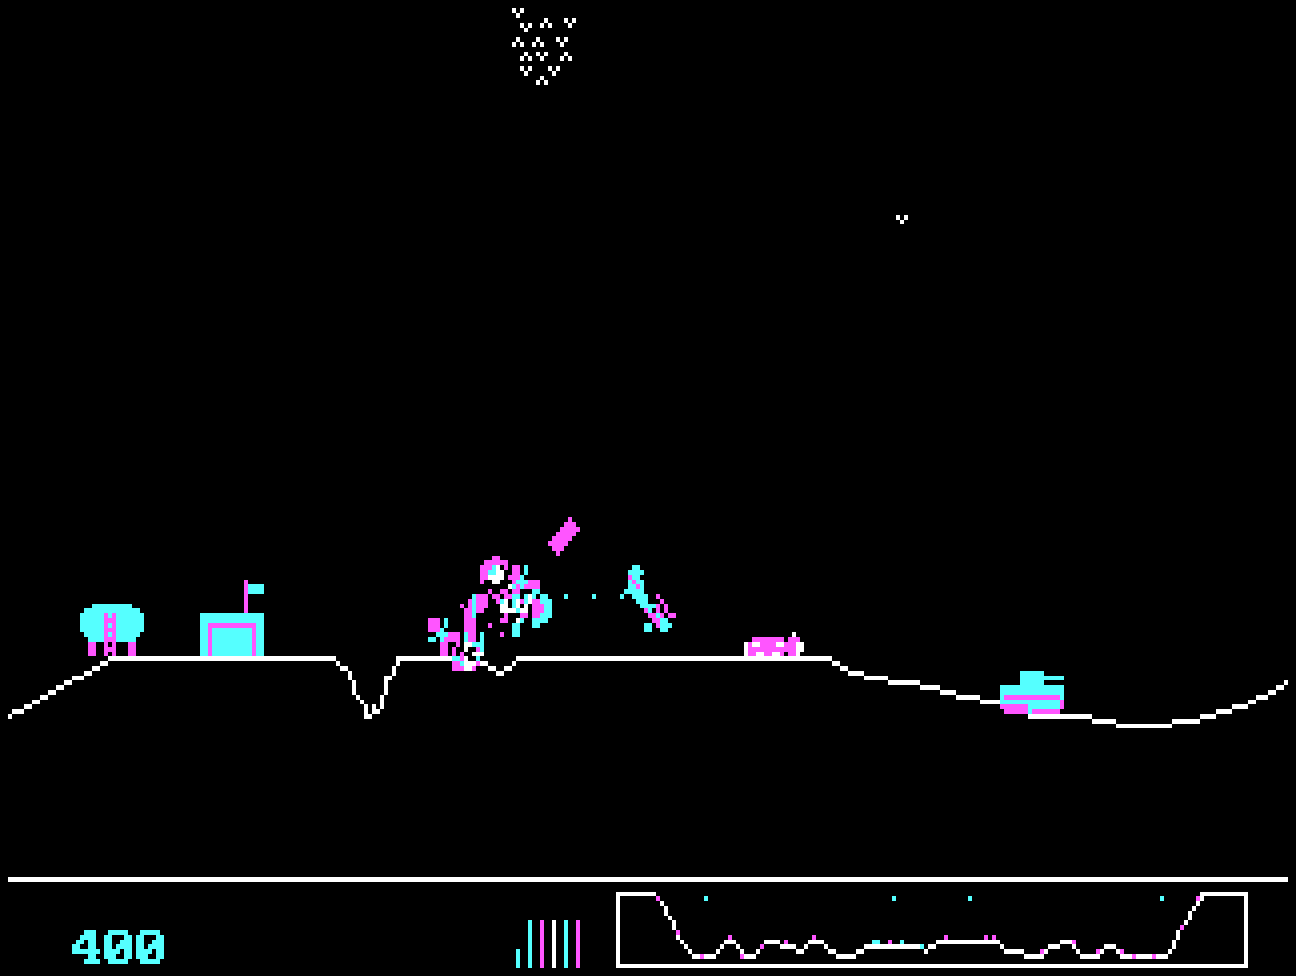
To do this, I needed to convert the bytes that programs write to video memory into RGB pixels for the Farcall frontend. Quite naturally, I expected the horizontal lines of pixels, or scanlines, to be stored in order: 0, 1, 2, 3. Here’s what Sopwith looked like when I interpreted video memory that way:

Sopwith, when reading video memory lines contiguously
Both the monochrome and color graphics cards are built around the Motorola MC6845 chip, a Cathode Ray Tube Controller (CRTC). This controller was designed around rows of text. As it draws the screen, the CRTC outputs two numbers: a memory address that tells the card where to fetch the current character, and a scanline number to select which horizontal slice of that character to draw.
For 320x200 graphics, IBM couldn’t simply set the CRTC to output 200 rows of one scanline each, because the register that sets the number of character rows is only 7 bits wide, so it maxes out at 127. Instead, the engineers configured it to return 100 rows of 2 scanlines each, and cleverly wired the CRTC’s two outputs to build the address at which each pixel’s data could be found in video memory.
CGA has 16 KiB of video memory, split into two 8 KiB halves. The card uses the CRTC’s memory address to select a location within one of those halves. Both scanlines in a pair use the same relative location, but the card wires the scanline number (0 or 1) to bit 13 of the final address. Because 213 = 8192, the second scanline starts 8 KiB after the first. So the first half of memory holds scanlines 0, 2, 4, and so on, and the second half holds 1, 3, 5, etc. Once the scanlines are interpreted that way, Sopwith looked correct:

Sopwith, reading video memory correctly with 8 KiB offset
DOS in a modern terminal
I started Farcall as a terminal program that could run COM files in my macOS terminal. There was something attractive about seeing an old DOS program running in a modern terminal, as opposed to in a graphical window like a normal VM hypervisor.
This worked great for text-mode programs, but I wanted to go further to see if I could render CGA graphics-mode programs directly in the terminal too. I learned that the terminal emulator I use, Ghostty, supports the Kitty graphics protocol, which allows terminal applications to display inline images. I figured I could try using this to stream each frame from the guest’s video memory. And it turns out this works—though it feels like it’s at the edge of what the protocol and Ghostty’s implementation are meant to support. (e.g. I ran into a condition where I could reliably crash Ghostty using its zlib support, and a change in a recent version of Ghostty made frames flicker).
Now that I could display graphics-mode programs like Sopwith in the terminal, I wanted to share this experience of “running DOS in your terminal” with others, so I decided to put an installation of my emulator on a public SSH server. An increasing number of DOS programs of the era are now being made open source (including MS-DOS itself as I mentioned, but also programs like GW-BASIC, Zork, and Sopwith), so I decided to compose the stack of open source parts (Farcall, GLaBIOS, FreeDOS, and a selection of 7 open source programs) for anyone to try.
Performance
As I was preparing to launch the SSH service, one issue I needed to solve was that of performance. Even though I was emulating a processor operating at 4.77 MHz on a VPS with a shared CPU supposedly running at 2.4 GHz, I was only able to fit 6 or so instances of Farcall running Sopwith per core before the emulation started dropping frames.
There were a couple things that were contributing to unnecessary CPU usage. Firstly, before every step of the emulation, I was checking the clock to see if it was time to pause emulation and handle some input/draw the screen. In profiling the code using a sample program, I found that fetching monotonic time (Instant::now() in Rust) was actually using ~43% of the CPU time. Making the loop only check every 128 steps helped remove this bottleneck. (Note that this didn’t change the fact that the emulator is nowhere near cycle-accurate, or properly emulating how long each instruction or hardware operation takes; I’m pretending that every instruction takes equal time, for example).
Another culprit was in the Kitty graphics code. Each frame is sent down as a separate PNG image.[3] At first I was sending full-color RGB PNGs, which was contributing to a significant amount of CPU usage in preparing each frame. However, by switching to 4-bit indexed (palette) images (which works perfectly given that you can only use one of 16 different colors in CGA in normal circumstances[4]), I was able to save more than 70% of CPU time in preparing the frames.
Takeaways and what’s next
I was surprised just how much I’ve learned from this project in such a short period of time. I’ve been using computers since the 90s and am familiar with words like IRQs, DMA, and Cylinders/Heads/Sectors—but it wasn’t until I had to implement them in software that I truly appreciated them for what they are. It was also a fantastic refresher for how CPUs work at the instruction level, which feels a lot more concrete now. On the other hand, I was not ready for how quickly “emulating a CPU” ballooned into “emulating a whole computer including all its peripherals”.
As for what’s next: My emulator is far from complete, and I still want to get to my goal of running Windows 3.1. Probably the biggest hurdle in the way is support for protected mode, and emulating a 286. (Windows 3.0 is easier to run in this regard, since it supports the 8088). Even before that, I need to support hard drives, as well as a newer graphics mode like EGA or VGA. There’s a lot to do—but I look forward to learning a lot more about how computers work along the way!
Try it out
You can try out Farcall yourself on a standard SSH client. You will unlock the full graphical experience on terminal emulators that support Kitty graphics like Ghostty, Kitty, iTerm2, and Konsole.
ssh me@intodos.com
At the launcher, choose a disk to insert, press Enter, and type PLAY at the DOS prompt. Press Ctrl-] to return to the launcher.
The source code is licensed under the MIT license and is available at https://github.com/keito/farcall. Provenance of the programs on the SSH server is available here.
Footnotes
-
I wrote the code for the emulator by hand. I used Codex to help write unit tests and some test programs, and perform research. ↩
-
An opcode is optionally preceded by one or more prefixes, which can do things like repeat the instruction. ↩
-
I initially sent zlib-compressed pixels, but it kept crashing Ghostty, caused by a bug in the Zig DEFLATE library, so I switched to sending PNG images. This bug is fixed in the latest Ghostty after they switched to Wuffs. ↩
-
Without some cool shenanigans. ↩